
Guide / GUITAR LAB
Bridge regluing and brace repairs on an acoustic guitar. Canyon W-70
The bridge outside and the braces inside the body need separate checks. Here is how these repairs are prepared, and why glue alone is not enough.
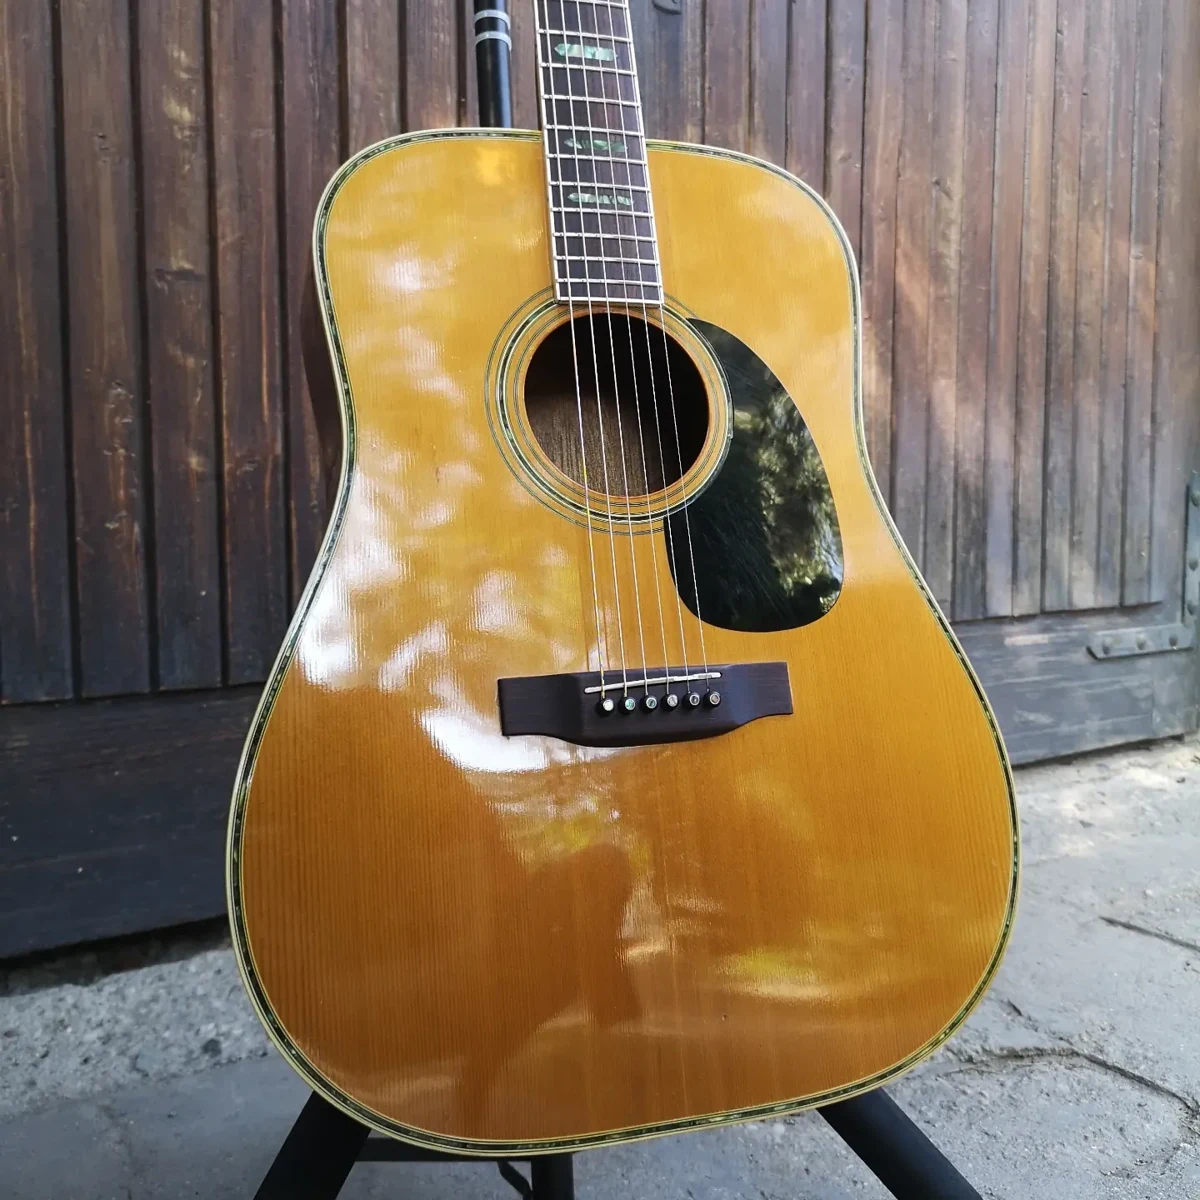
Two areas worth checking separately
The bridge is glued to the outside of the soundboard. The bracing sits inside the body. Access to these areas differs, so looking at the bridge from above is no substitute for inspecting the inside of the instrument.
In the workshop, we establish exactly where the joint has lost continuity and how much work is needed. Not every guitar that needs its bridge reglued has a bracing problem. If both areas raise concerns, however, they should be part of one repair plan.
Preparing the bridge for regluing
Before any glue goes on, the mating surfaces have to be prepared and the fit of the bridge to the top checked. Setting up the clamps and cauls in advance shows whether the clamping pressure will land where it is needed. This stage is done dry, before the glue's working time starts to limit us.
Forcing whatever glue is to hand into a visible gap is no substitute for this assessment. The part of the separation you can reach from outside may not show the condition of the whole joint.
Repairing a loose brace
With a brace, you have to identify how far the separation extends, clean the joint being repaired and match the clamping to its location inside the body. Limited access means the tools and cauls have to be prepared before gluing. The approach for a brace near the soundhole may differ from that for one located deeper inside.
There is no single clamping arrangement that suits every guitar. It depends on where the joint is, its condition and whether the parts can be supported without damaging the surrounding area.
A workshop example: Canyon W-70
The service on our Canyon W-70 included regluing the bridge and repairing the bracing. We also carried out a fingerboard correction and a refret. The guitar received a handmade bone nut, a new saddle and new bridge pins.
On this job we combined work on the body with preparing the playing surface and the string-support parts. These are not interchangeable procedures: repairing glued joints and fretwork address different needs of the instrument.
Nut, saddle and bridge pins: different functions
The W-70 received a handmade bone nut, a new saddle and new bridge pins. The nut controls string spacing and clearance at the headstock end of the fingerboard. The saddle supports the strings at the bridge and contributes to the final action and intonation.
These parts are assessed in relation to the repaired guitar. Correct fitting matters alongside the work on the fingerboard and frets: changing one part alone cannot resolve a loose bridge or brace joint.
Why structure comes before fine adjustment
As a general principle, a setup is only as dependable as the joints beneath it. A separated bridge or brace can change how the top responds to string tension, so adjusting action before those joints are sound risks repeating the work.
On the W-70, the glued joints, the fingerboard correction with refret and the new string-support parts belonged to one plan. Planning them together means any final adjustment is made on the repaired instrument rather than on its earlier condition.
How to report a similar problem
If you notice a gap at the bridge, take clear photos from the side and describe when the change appeared. Don't try to force it closed or choose a glue based on a photo alone. An inspection lets us establish the scope of the repair and also check areas that aren't visible from the outside.
Further reading
If you are interested in the workshop side of gluing, StewMac's resources include examples of fitting a bridge and setting up clamping pressure for loose braces.